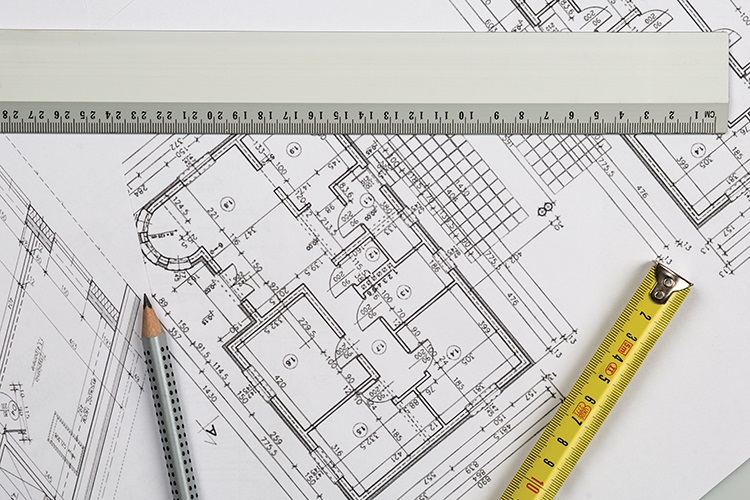
I have been teaching electrical estimating classes since 1985. In all that time, the most difficult part of estimating for most students has been branch conduit and wire. I thought it may be a good time to review these concepts.
Definitions
Generally, branch conduit is defined as sizes ½ inch through 1 inch. Sometimes, we include 1¼-inch branch if it has smaller wires in it. For example, a 1¼-inch conduit with 24 No. 14 wires in it may be considered branch because of the wire size. The decision to put this conduit in branch or feeders is up to the estimator or company standards.
Wire sizes up to and including No. 8 are generally thought of as branch. Again, some larger wires in small conduits are included in branch. For example, 1-inch with two No. 6 and one No. 10 may be considered branch, even though it has feeder-sized wires in the branch-sized conduit. The decision to put this conduit in branch or feeders is also up to the estimator or company standards.
Why branch and feeders?
Conduit and wire are categorized as branch or feeders because of the cost difference. Feeders can be very expensive, sometimes costing hundreds of dollars per foot. When we takeoff feeders, we do it with more precision, making exact measurements and selecting the particular fittings that will be used to install the feeder.
Comparatively, branch is less expensive, measurement is somewhat less precise and we are not so concerned with selecting the exact components to include in the takeoff. For instance, when selecting Caddy clips for support, many types have similar costs. If the assembly you are using to input the branch into your estimating system does not include the exact Caddy clip, it is not a problem.
I have had a few people challenge me regarding this belief. One chief estimator in particular believed the field should be able to purchase all the materials they need based on his estimates. It became a point of contentious debate in his company when the field ordered something he did not have in the estimate.
My own feelings on the matter have been reinforced by the classes I have attended and what I have learned from my employers. Why? Field electricians are the ones who have to make the installations, and most of the time they will select the most appropriate and cost-effective materials needed.
As estimators, we cannot always envision what the field conditions will be, or what decisions the electricians will make. There is a saying: “Don’t sweat the small stuff.” That is exactly what I was taught about branch conduit and wire.
How do we measure branch?
On most commercial projects, branch is the most time-consuming part of the takeoff. Because of this, previous generations of estimators developed methods to make branch takeoff faster. One such method if you are using a plan measuring device on paper plans is to not roll between the objects in a straight line. Instead, roll from object to object in an arc. This gives you some extra conduit for small elevation changes and going around obstacles. If one object is at a significantly different elevation, such as a drop from a fixture to a switch, simply over-roll a little. For instance, at a scale of 1/8 inch = 1 foot, over-rolling 1 inch = 8 feet.
When measuring, use a tally counter (i.e., thumb clicker) in one hand to count the number of runs or segments. A run is the conduit between two objects. This count is needed to calculate the number of connectors needed for the conduit or MC. One run equals two connectors.
After a little practice, these methods improve the speed of takeoff, as rolling an arc is a very natural movement of the wrist. The rhythm of roll-click-roll-click becomes automatic. Remember to set aside your plan measurement device occasionally so you can mark off the branch you have measured. I prefer a pen-style highlighter for this task. I’ve said it in my column before, and I’ll say it again: if it’s not marked off, you missed it.
I always measure home runs to the panel separately, as the specifications may require different materials for this part of the work. The most common requirement is specifying EMT for home runs while allowing MC for all other concealed branch in dry locations. When measuring home runs, use a route at right angles or parallel to the building lines, and then add the distance for the drop to the panel.
In my experience, digital takeoff programs accommodate very similar methods to the paper takeoff procedures described above. Whichever methods you use, be consistent. Doing it the same way every time will increase your accuracy and speed.
wip-studio/stock.adobe.com
About The Author

CARR has been in the electrical construction business since 1971. He started Carr Consulting Services—which provides electrical estimating and educational services—in 1994. Contact him at 805.523.1575 or [email protected], and read his blog at electricalestimator.wordpress.com.