I was in Loveland, Colo., this past weekend to celebrate our great-granddaughter Miah’s high school graduation. We stayed at our daughter Trina’s home for about four days. As many electricians can relate, her house had a number of electrical issues, and she asked me to help troubleshoot and resolve them. One major issue she had was a doorbell that would not function properly.
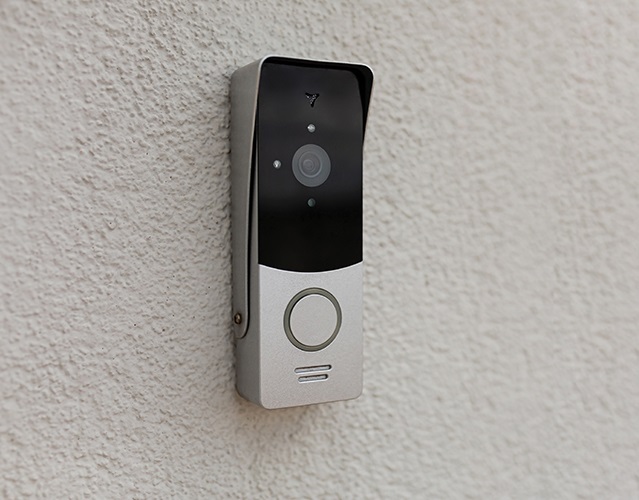
She had a security person install a second-generation video doorbell at the front door, but it wouldn’t work. When I was an electrical contractor and went out to add a circuit or troubleshoot an electrical problem at a home, the owner would call us a few days later and tell me that their doorbell wouldn’t work. After troubleshooting, we would often find that the doorbell transformer had not been installed by the original contractor or the doorbell chime had never been connected. Of course, the homeowner would swear that it operated properly until we showed up to do extra work.
Finding the problem
Locating the doorbell transformer can often be a problem. If the panelboard and enclosure is inside the home, that is usually where the transformer is located. Where the service is located outside, the transformer could be located in the basement, attic or somewhere else out of sight and not in a wet location.
Our daughter (a very intelligent doctor) had already located the transformer in the basement electrical and mechanical equipment room. I tested the output of the existing 120V to 16V transformer using a True RMS multimeter she had purchased. I usually like to use my own meters, but hers was very good.
The doorbell transformer was burned out and needed to be replaced. I changed out the existing transformer since it did not have any output voltage. Her two panelboards were properly labeled, so I located the circuit breaker that provided power for the transformer. I was very impressed with the detailed labeling of each breaker. Properly labeling panelboards helps ensure safety when working on branch circuits and feeders.
Our daughter had also purchased a 120V to 24V transformer and a 24V doorbell to match the voltage requirement of the second-generation video doorbell. When troubleshooting, be sure to check the minimum volt-ampere output rating of the transformer to ensure it can handle the required load for the chime and the camera. Our daughter took that step for us and did the proper investigation on what was necessary to repair the doorbell system.
Installing the new one
After replacing the doorbell transformer in the basement equipment room, I replaced the existing front door 16V door chime with the new 24V doorbell chime. Ensure there is sufficient power available for proper operation of the chime and camera. Depending on the location of the doorbell transformer and the size of the conductors, there may be too much impedance, resulting in voltage drop that will affect proper operation of the chime and camera.
With the new camera/doorbell button, a mechanical chime may be the only type compatible with your video-style system. Check the manufacturer’s data and follow the detailed instructions to ensure compatibility. My doorbell system has an electronic chime that plays a number of different songs when the button is hit. It is not compatible with my wired camera system at the front door and therefore must be replaced with a compatible chime.
Our daughter’s camera and chime required a chime connect module to be installed from the transformer connection inside the chime (a connection screw labeled “transformer”) to the connection screw labeled “front.”
The chime connect module is a small device that connects to the chime and allows the camera to draw power. The module connects the chime’s wires to deliver constant power to the camera/doorbell button, which has higher power requirements than most standard doorbells and doorbell buttons.
The chime connect module also bypasses the chime, allowing the camera to draw power while the chime remains inactive, and then diverts power to the chime when the doorbell button is pressed. If the doorbell buzzes or hums when the system is installed and the button is pushed, install a 10-ohm, 0.5W resister from the transformer connection in the doorbell chime to the front terminal.
Keeping the doorbell and camera in working order can make all the difference to home security.
Liubomir/stock.adobe.com
About The Author

ODE is a retired lead engineering instructor at Underwriters Laboratories and is owner of Southwest Electrical Training and Consulting. Contact him at 919.949.2576 and [email protected].